Balls | |
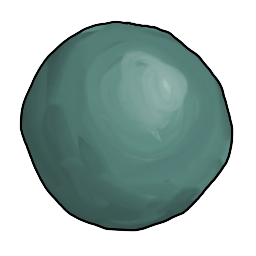 |
For most beans, we will start with a ball. Roll clay around in your hands until it is spherical. This may take practice. |
|
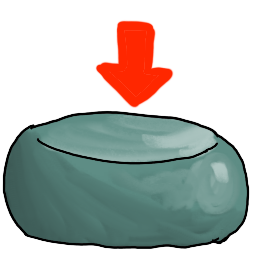
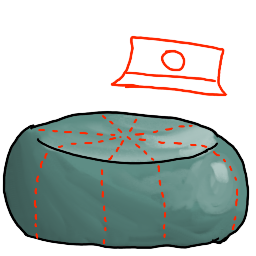
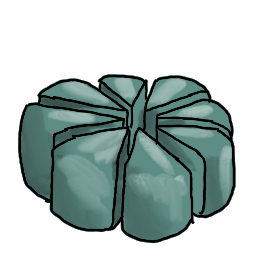
Making balls in batches: To get many pieces of clay in a similar size, make one big ball, mash gently so that it stays still, and slice into quarters, sixths, or eighths. These slices may be re-formed, but should be roughly the same size if your pie slicing was even handed. |
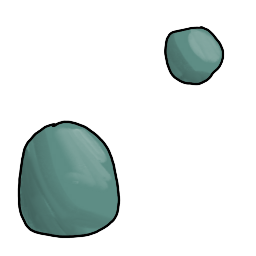 |
Balls will come in different sizes and be manipulated in different ways. |
Flats | |
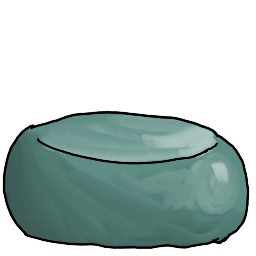  
|
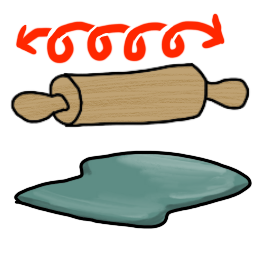
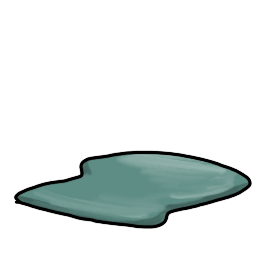
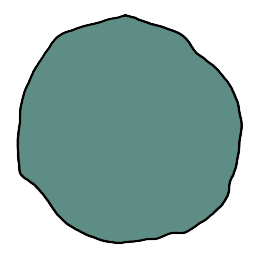
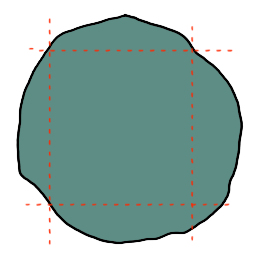
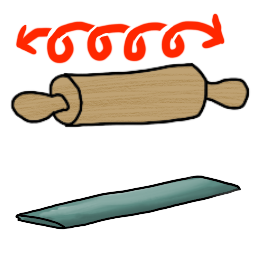
Roll a sphere as you would bread dough with a rolling pin (mini rolling pins are a thing that exists... or a smooth and even vodka bottle will do in a pinch). Roll at different angles, and flip or de-stick your clay every so often. If it gets sticky, leave it alone for a while to cool off. |
|
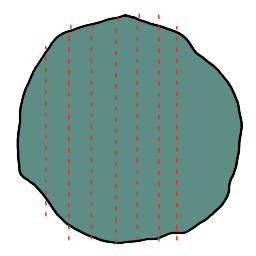
Flats can then be cut into strips or shapes. |
Coils | |
|
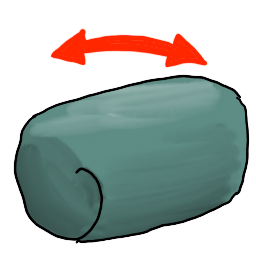
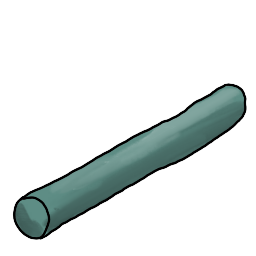
To form a coil, roll a ball back and forth until it is cylindrical. Coils can be short and stubby, or long and thin, or anything in between. |
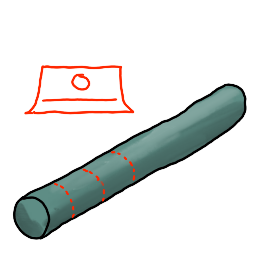
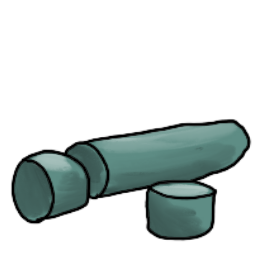
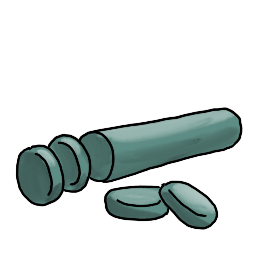
| Slicing coils: For smaller sphere work, or smaller anything work, it is easier to cut a slice off of a coil than it is to pinch a piece out of a block. | |
|
Thick chunks are easier to roll into more spheres. |
|
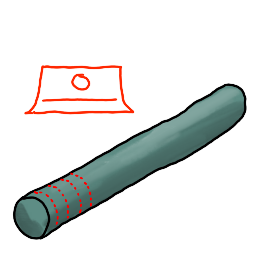
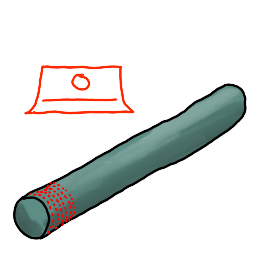
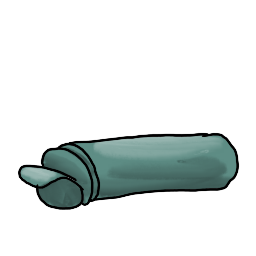
Midsize chunks are easy to flatten. |
|
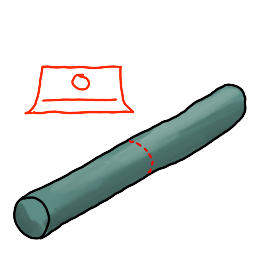
A very even hand can slice paper-thin, creating ready-to-use shapes. |
| Pro tip: The coil can be shaped. Need triangles? Pinch it into a triangle. | |
|
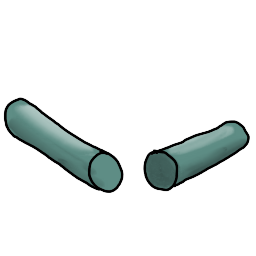
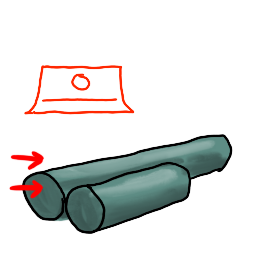
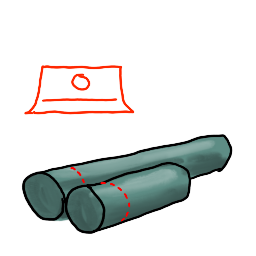
To cut two (or more) coil slices at once that are the same size: cut the coil in the middle. Turn the cut edges to be next to each other, even both out by tapping with the razor, and then slice both at once. This is very useful for getting two bits of the same size, such as for eyes or ears. |
|
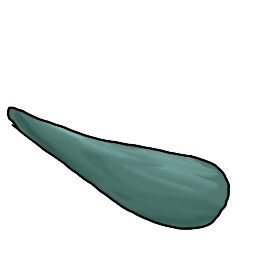
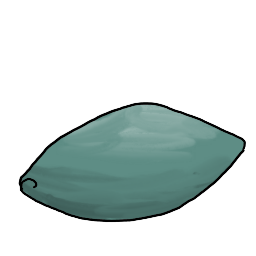
Sometimes coils are used whole on a bean. They can be used cylindrical, or have one or both ends rolled smaller into a carrot or sweet potato shape. |
Strips | |
|
|
Strips can be acquired from flats. |
|
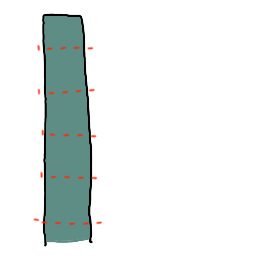
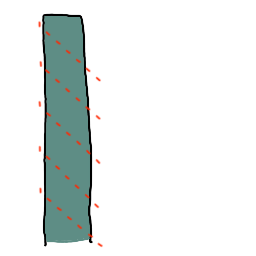
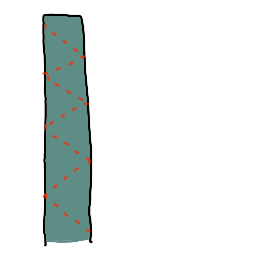
Strips can also be made from coils. Roll back and forth, as if making a flat, but only longways to the coil. It will eventually flatten. This can be used instead of strips, and is easier to do with a smaller amount of clay. |
|
Strips acquired from any method can be used whole, or sliced into smaller sections or shapes. |
Ball-in-Socket | |
|
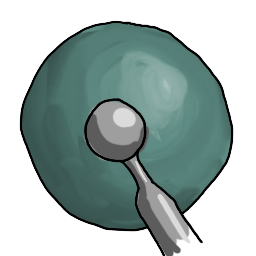
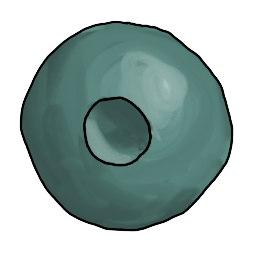
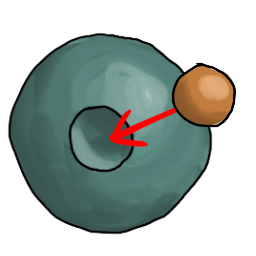
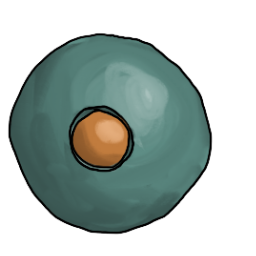
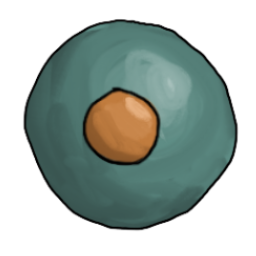
Using a ball-tip tool, press a socket into the larger amount of clay; the socket. Roll a sphere from a different clay, roughly the same size as the hole. Press gently into the socket. If smoothed over, it creates a dot that is well anchored and not going to peel off. If not smoothed, it creates a well-set little bead - good for eyes or noses. |
Stripes! | |
|
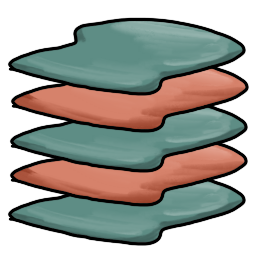
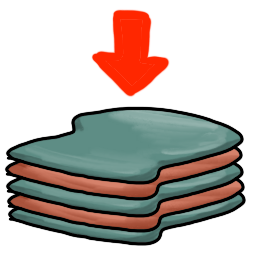
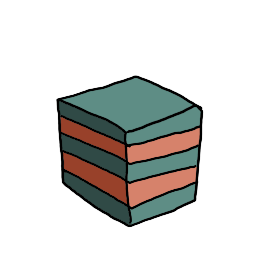
To get striped chunks, take several flats in two (or more) colors. Alternate the colors, and press together. Trim, and either separate or mix the edges. Then cut chunks to make striped beans or parts! |
|
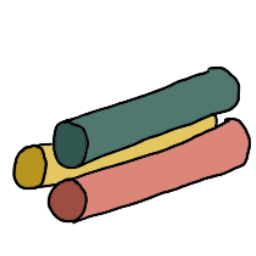
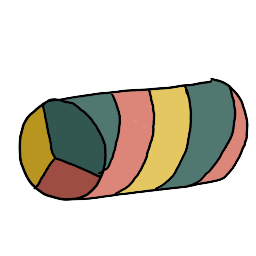
For stripey coils (good for stripey tails or multicolored hair tufts), take two or more coils of the same size. Twist gently together, and roll smooth, then use as normal. |
Texture | |
|
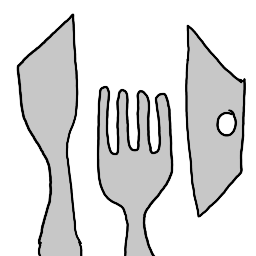
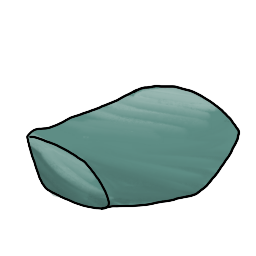
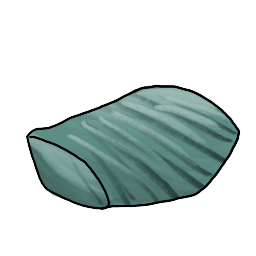
Texture can be applied to almost any shape! A sphere, a coil segment, whatever. Just grab whatever tool is at hand - a clay tool, a plastic fork, a stick, the dull side of a razor blade if you are very careful - and gently press lines into the segment before adding it to the bean. This makes for great fluffy tails, noses, and ears! |