Measurements and Bean Sizing |
| Beans do not come in a specific measurement. No numbers are available in this guide. It's very vibes based. Use your brain, and the illustrations. |
| The reason for this is that beans can be lots of different sizes. The default from the (currently unavailable) Etsy page is roughly the size of a standard confectionary jumbo jellybean. A delicate hand can make them half that size, and fit a wire loop in the top to use as earrings. Someone with less dexterity and more money for clay may choose to make them larger. |
Bodies | |
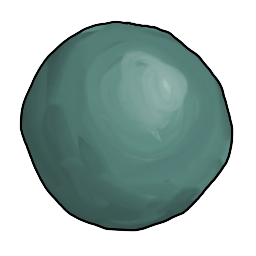 |
In most cases, we will start with a ball. |
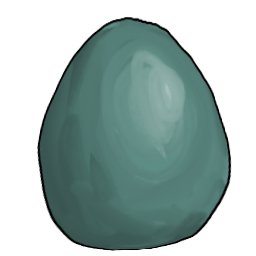 |
For the standard base of a bean, gently shape the sphere into more of an egg shape; heavier on the bottom, but not TOO pointy. Just enough to not fall over. Press gently into a surface so that the bottom is flat enough to sit on. |
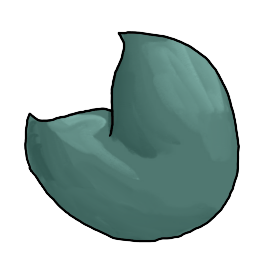 |
For a birdie bean, roll the ball into a sweet-potato shape instead, roll that into a crescent moon, and press the bottom nearer one side, so that there is a little fat tail and an upper head bit with a crest. If a crest is unwanted, pat it back down again. |
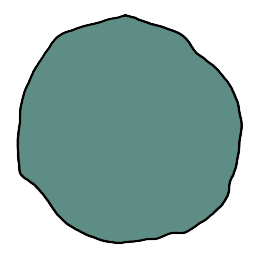 |
Other species may use variant bean bodies! Most notably, the giraffe, gnome, and octopus. |
Eyes | |
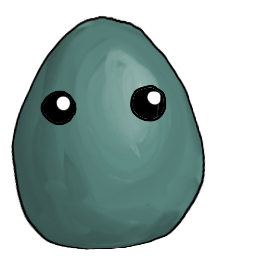 |
Use a ball-and-socket technique for eyes. Don't smooth them too much - just chuck the ball into a shallow socket and let them stay beady! Only press hard enough to stick it. |
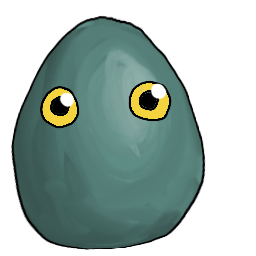 |
For complex eyes, put a smaller black pupil smoothly into a sphere of colored iris. Roll into a smooth ball, and then set the whole eye into the larger bean. |
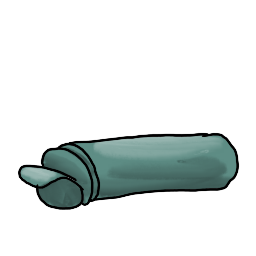 |
For finishing eyes with a gleam spot: Roll a TINY coil of white, take a paper thin slice, and press gently into the upper right of the eyeball. |
Noses | |
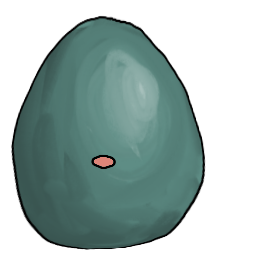 |
Use a ball-and-socket technique even smaller than eyes to create a subtle and petite nose. |
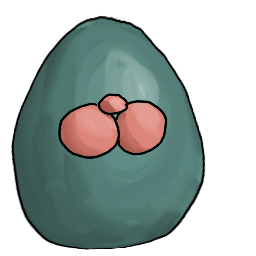 |
For a more prominent snoot, add balls for cheeks, and press a nose into the crack rather than sinking it into a socket. |
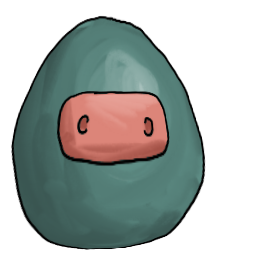 |
To create an ungulate or reptile, use a medium slice of a coil, pinched and softened into an oval, with nostrils poked in with a tool. |
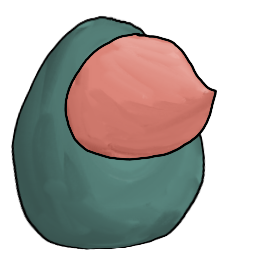 |
For a fully different color face, pinch a hefty coil slice into a cone; thinning the edges and pinching out a point in the center, before pressing into the bean. Simple noses can be added on top, as well as slices out or strips added for other colors. This nose is usually big enough to also have the eyes in it. |
Tails | |
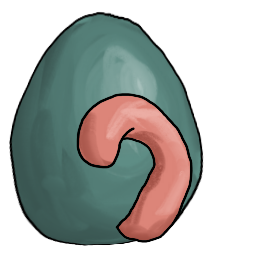 |
Many bean tails can be tucked up against the body with no support structure. These can come in lots of shapes! |
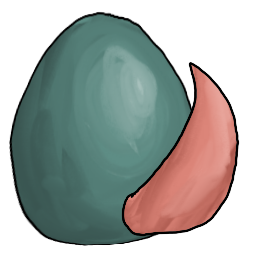 |
Some tails stick out, and will need to be secured with a straight wire pin. |
Ears and Other Bits | |
|
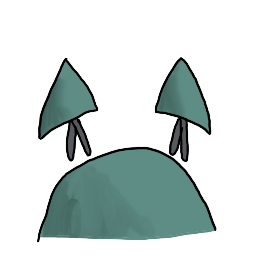
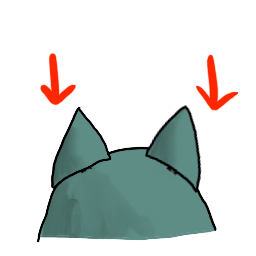
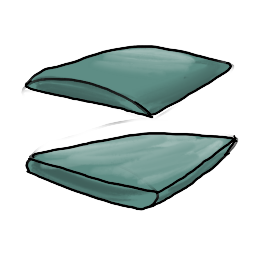
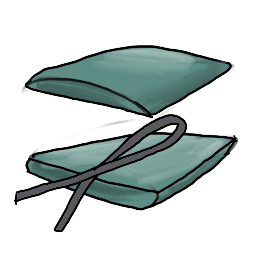
Ears and bits are best installed with a wire loop, so they stay sturdy and don't twist. These shapes are presented as ears, but may also be used for horns, scales, spines, fins, or whatever. |
|
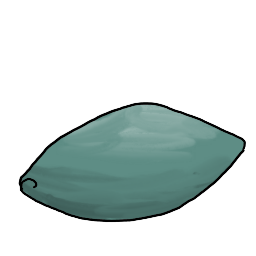
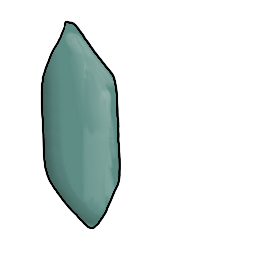
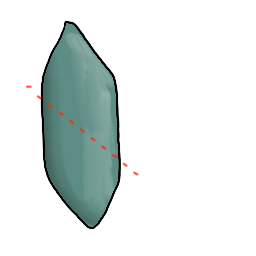
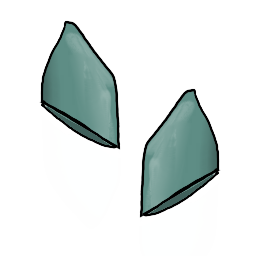
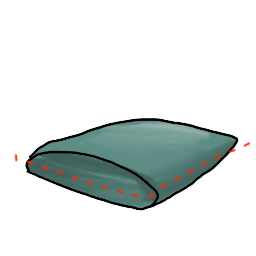
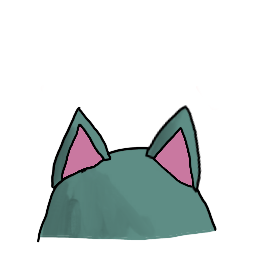
For ears with a wide base and a pointy tip (good for cats): Make a small sweet potato, and squash it slightly flat. Cut in half on a diagonal, rotating the extra half to make two same-size ears. CAREFULLY slice each half long ways into two halves, and install the halves on either side of a wire loop. Install into the bean, positioning as needed. |
|
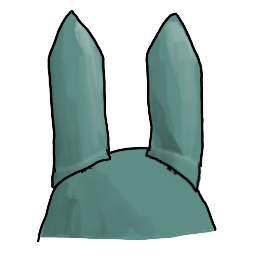
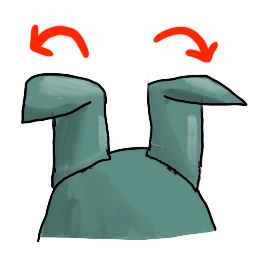
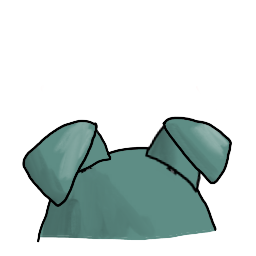
Floppy Ears! Make the sweet potato shape extra long, but the wire loop short. Fold over the extra clay for floppy puppy ears. |
|
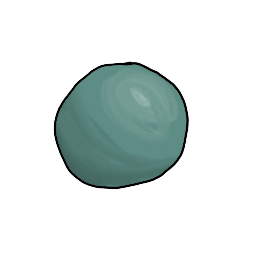
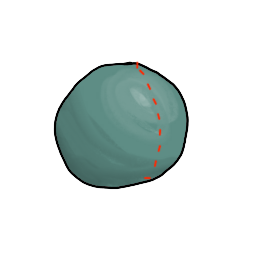
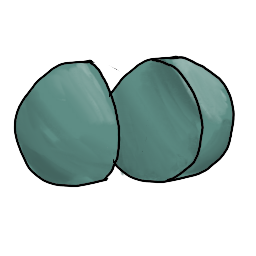
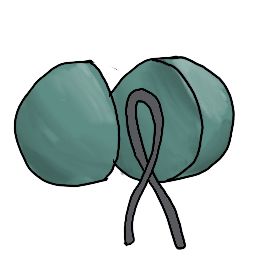
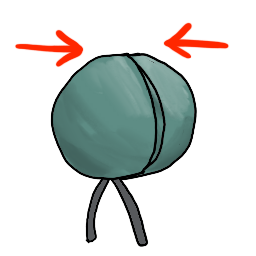
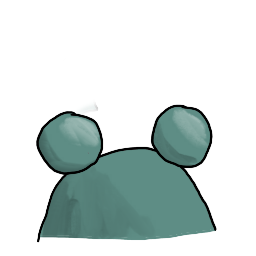
Round Ears! For bears, mice, and possums. Make two small spheres, one for each ear. Cut the sphere in half, press the halves onto the wire loop, and pinch flat. |
|
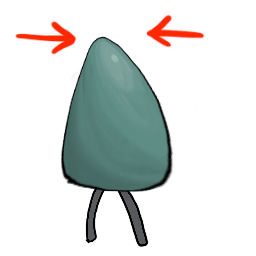
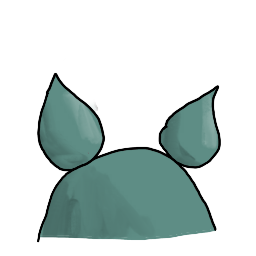
Teardrop Ears! Floppy, great for cows or pigs. Make round ears and pinch the tip up. |
|
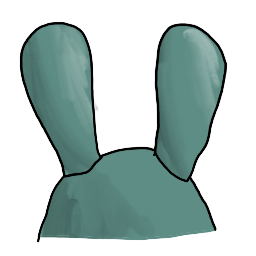
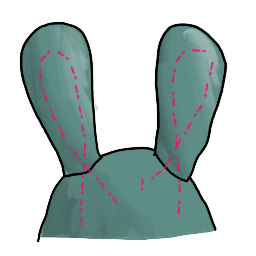
Jumbo Ears! If the ears are oversized, make sure and use a wire loop big enough to support them. |
|
Ear insets: To create a differently-colored inner ear, press a thin slice of a different color on the front side. Works on all ear types! Install before folding floppy ears. |