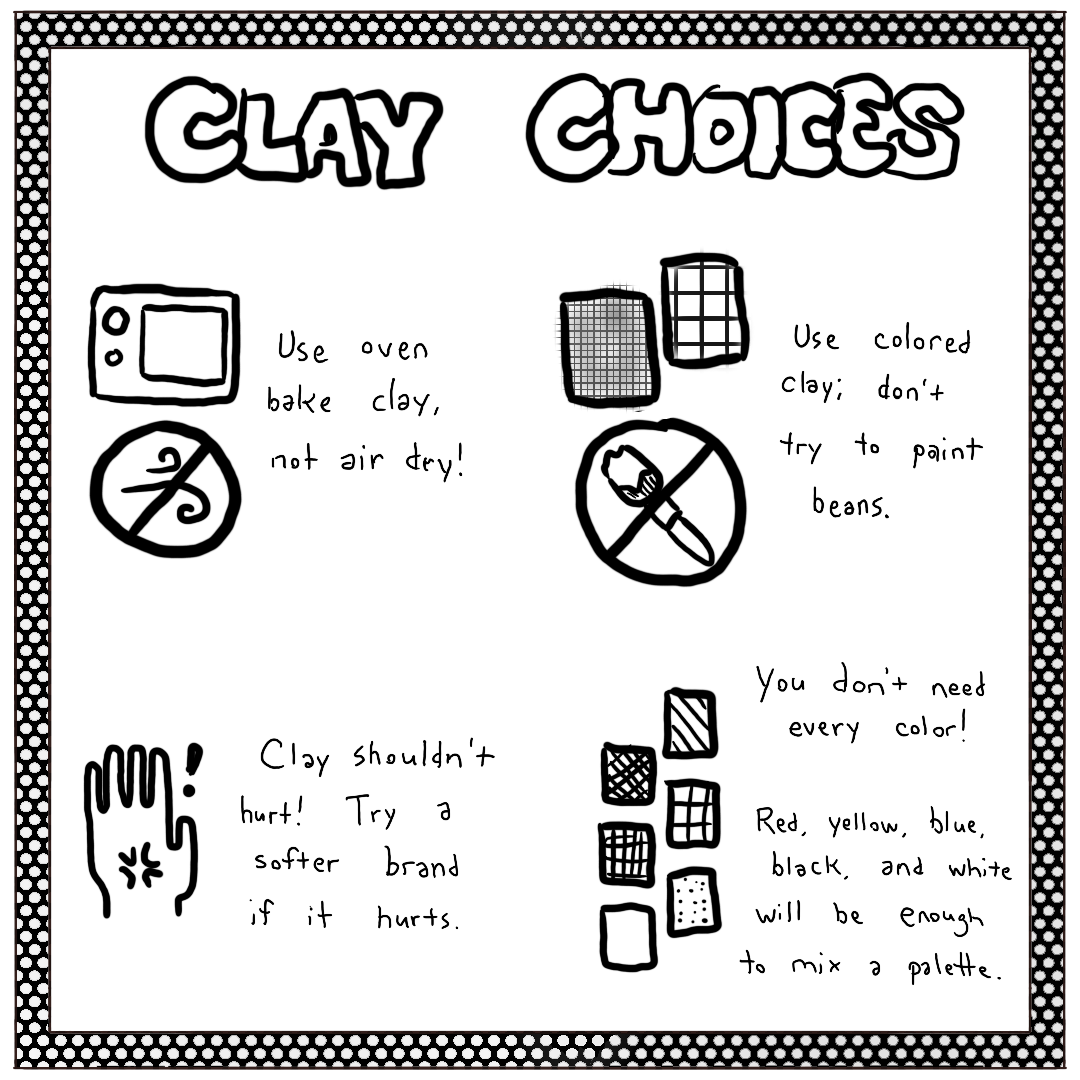
Clay Choices | |
| Use oven bake clay, not air dry! (And always read the baking instructions on the package - brands may vary!) | Use colored clay! Don't try to paint beans. |
| Clay shouldn't hurt! Try a softer brand if it hurts your hands. | You don't need every color! Red, yellow, blue, white, and black will be enough to mix a palette. (But some premade browns and greens may come in handy) |
Useful Tools | |
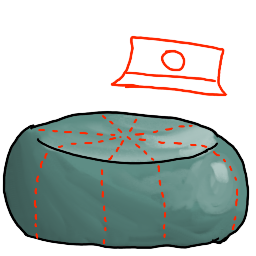 |
A razor blade is essential. Keep it sharp, change regularly, and use caution. |
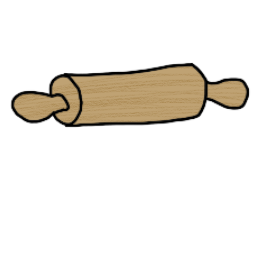 |
Rolling pins are useful. Large ones for baking may be unwieldy, but smaller ones are available - or a smooth sided vodka bottle will do in a pinch. |
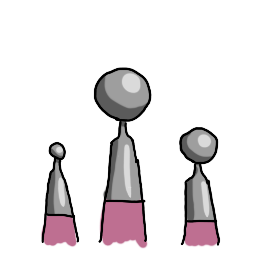 |
Ball tipped tools are highly recommended for bean making - but a resourceful goblin may be able to get by with an unused ballpoint pen. |
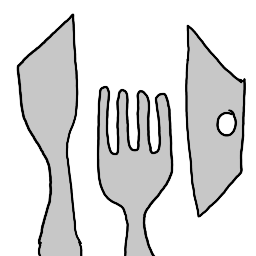 |
Other tools can be useful for texture or moving small bits of clay around! Clay tools exist. Forks are great. Use what makes you happy. |
Wires | |
|
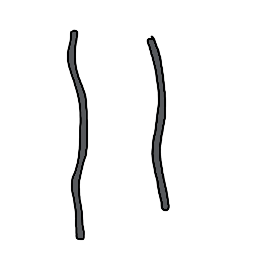
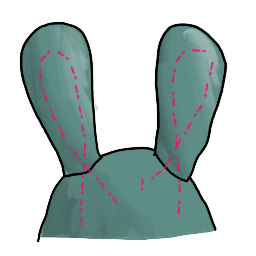
Craft wire is very useful to help keep extra bits sturdy and attached. |
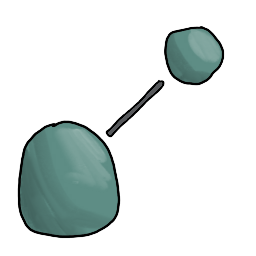 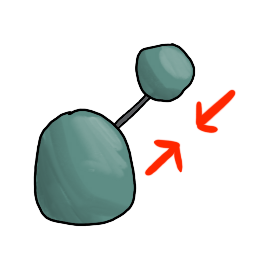 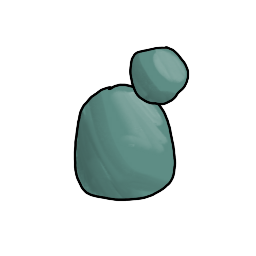 |
Things that are being installed straight on, like tails or long noses, will be fine with just a straight bit of wire that goes into both pieces of clay. Helps keep them sturdy, without deforming either piece too much. For larger pieces or better torque protection, use multiple pieces. |
|
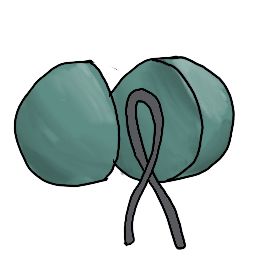
For shapes that need to be even more firmly fixed, a wire loop is good. Loop the wire over, maybe twist once or twice, then mold the attachment on or around the exposed loop, and install the pointy end into the main body of the bean. |
Color Mixing |
| Polymer clay can be color mixed exactly the same way as paint. Use a paint mixing guide to get colors. Highly recommend mixing every single color except for black and white! It helps get the clay soft and ready to use. Lighten the reds, make nice greens and purples, whatever. Pick a palette. |
| To mix clay, cut the intended color portions. Smash, roll, rip, tear, squish, and mix, until uniform. Fancy people may choose to leave a little marbling, but this is very hard to keep even. Extra color batches can be balled and stored for later. |