
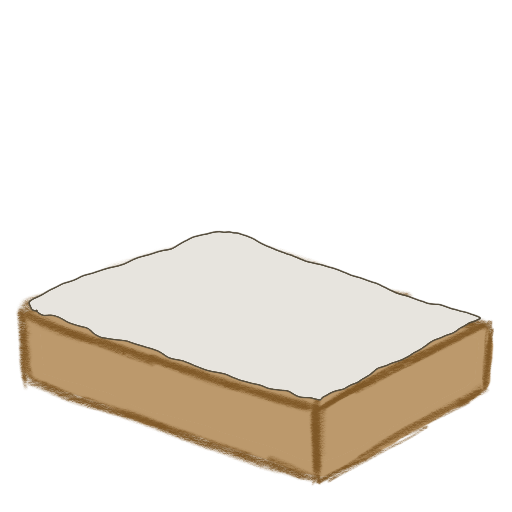
Step the first: procure cake. This set pertains to a square cake; the slightly simpler modifications for creating a round cake will be explained in text.
Ensure that your cake is frozen completely solid enough to handle easily, relatively flat on top, completely clean of any baking pans or sheets except for whatever it is sitting on but not stuck to, and not broken or crumbling. If the cake is any of those things, get another cake and try again. This isn't a baking guide.


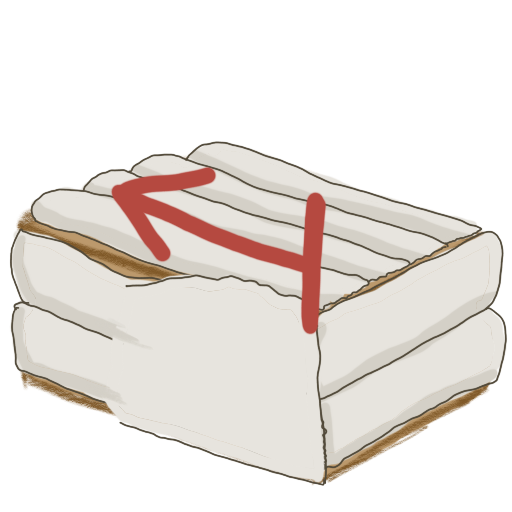
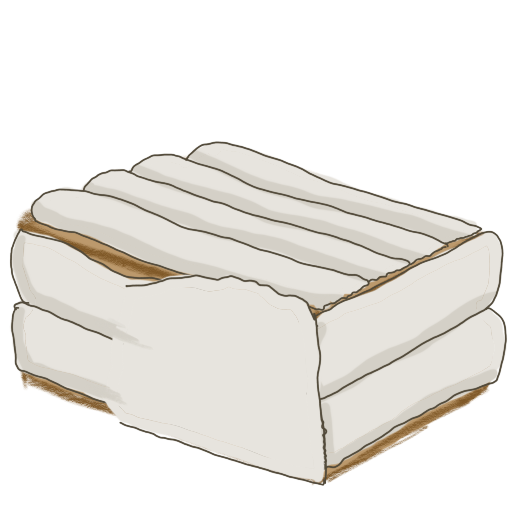
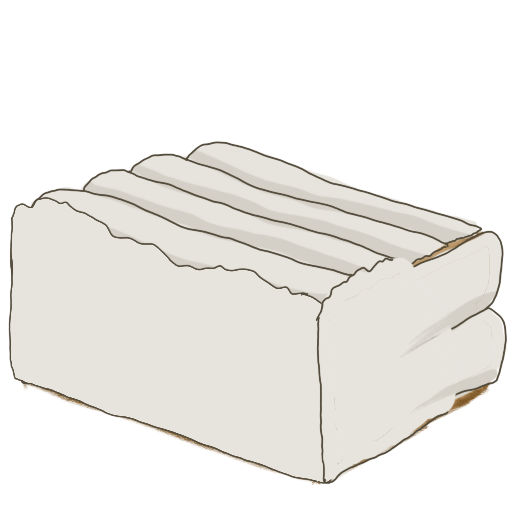
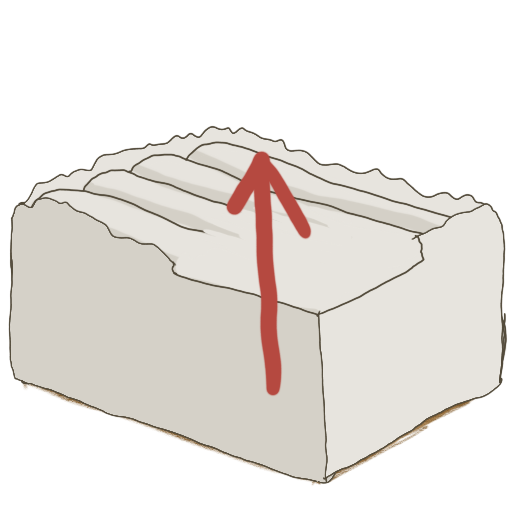
Using a piping bag equipped with a Base Icing Tip and filled with frosting, pipe lines long-ways onto the top of the cake, with the textured side of the frosting ribbon facing down. Use as many lines as you need to in order to ensure the top of it is covered; this guide is pictured with four.
If your cake is round, concentric circles that cover the top are preferred.
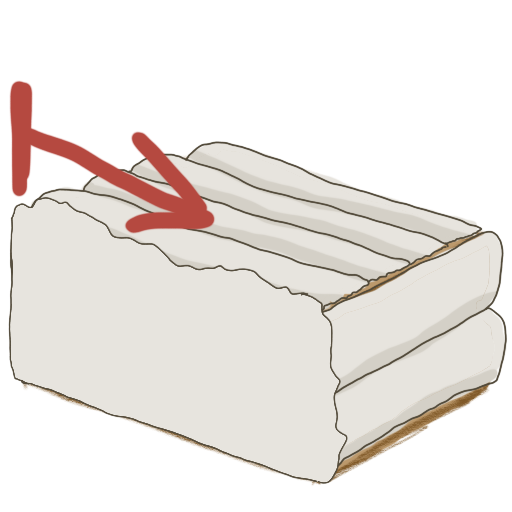
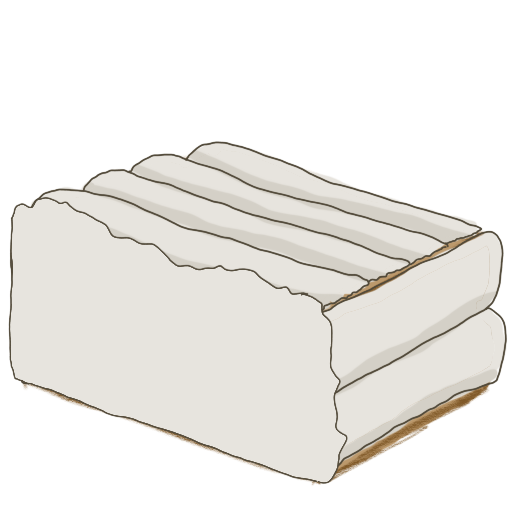
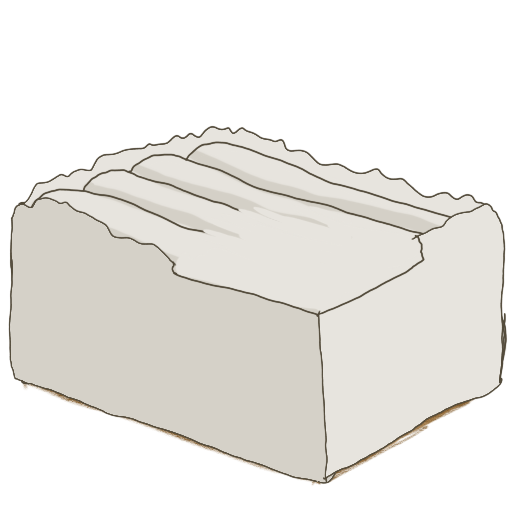
Using a straight-edged scraper, flatten the layer of icing. It should be about a quarter of an inch thick.
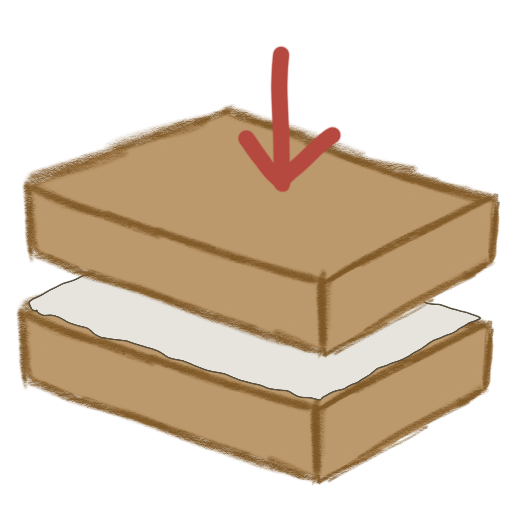
Place the second layer top-down onto the first layer, taking care to center it. Top-down is to ensure even corners on top.
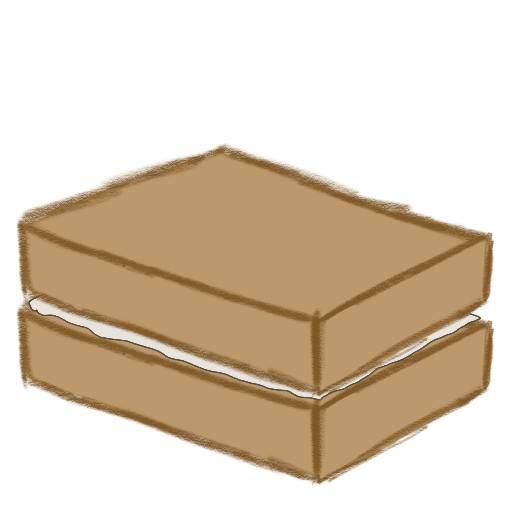
Ensure that the cake is centered on the board, the board is centered on the turntable, and the sides are as square as possible up-and-down. A fluffy cake may need some additional frosting between the layers around the edges or any low spots.
If working with half-sheet cakes in a commercial setting, this is the time to cut them down to quarter and eighth sheets, and distribute onto their own boards.
With the piping bag and base icer tip, cover the cake in a layer of frosting. The top should be done in the same way as the middle. The sides on a round cake may be one continuous line. On a square cake, ensure extra frosting is on the corners; use a new stroke for each side. Use one pass of the piping bag per layer of cake at minimum.
Put away the piping bag. With a straight-edge scraper held vertically, gently smooth the frosting from one of the corners, moving in one direction, and not all the way to the opposite corner.
It should look like this.
Do the exact same thing from the opposite corner of the same side.
This should leave one flat side on the cake, with no cake showing through, and no hint of the use of the base icer. Just a flat plane of frosting.
Begin the process again on another side; pulling the frosting along and smoothing it. For visual reasons, this cake has not been turned; in person, it will be much easier to rotate the turntable a quarter turn to work.
This should create a nice clean vertical corner.
Smooth this side out as well, taking care to preserve the corners.
For a round cake, simply turning the cake around on the turntable a few times with a steady hand on the scraper should do. It's much easier. For a square cake, flat sides are key. Do this on every side of the cake, all the way around. Crisp vertical corners, flat sides.
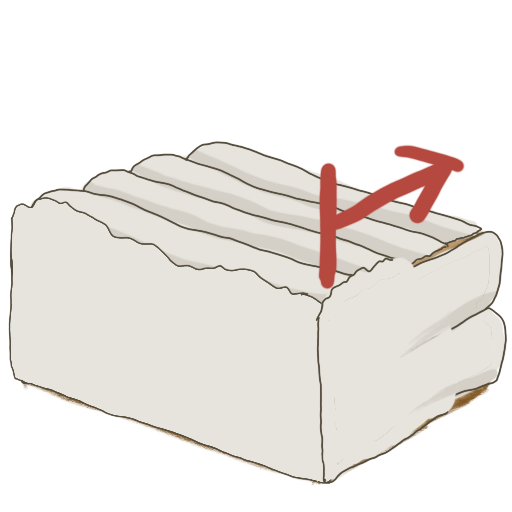
For the top, hold the scraper horizontally. Taking care to claim all of the frosting that was pushed towards the top, push the scraper away from your body horizontally, in such a way as it flattens the top on that corner.
Smooth to the center, not the opposite corner.

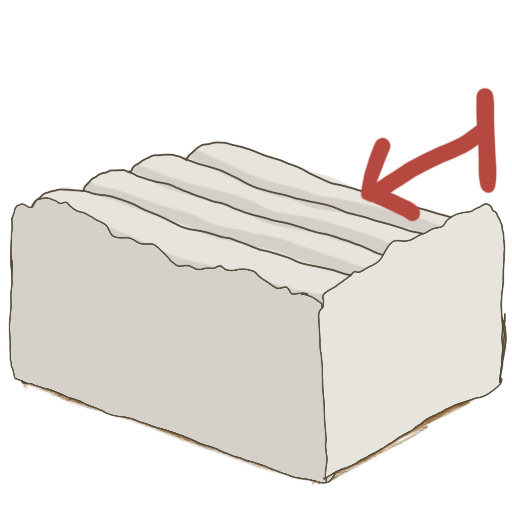
Do this with all corners, and any sides that did not get caught with the corners, smoothing frosting from the edges and into the center, with maybe a few gentle smoothing passes over just the center, so that the cake is flat on top with crisp and clean corners. This still works on a round cake; work your way around in a circle.

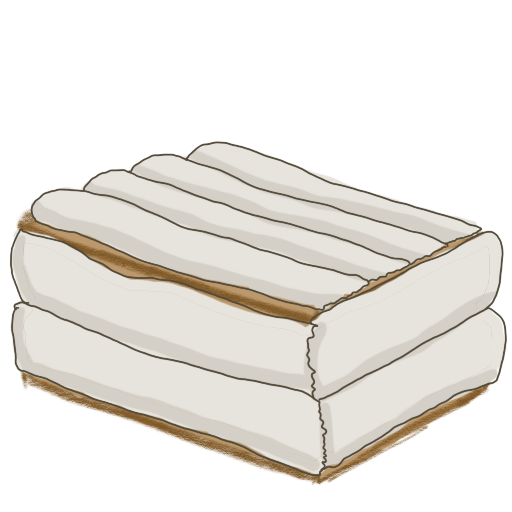
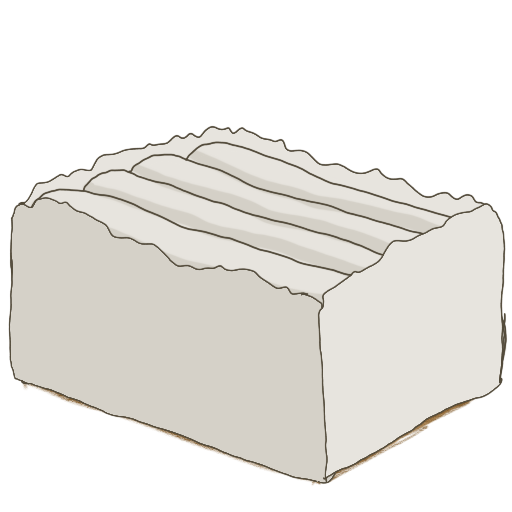
Optionally, but in most production settings, now grab a textured scraper. Very carefully, using the same stroke pattern, press the scraper along so that it creates a texture.
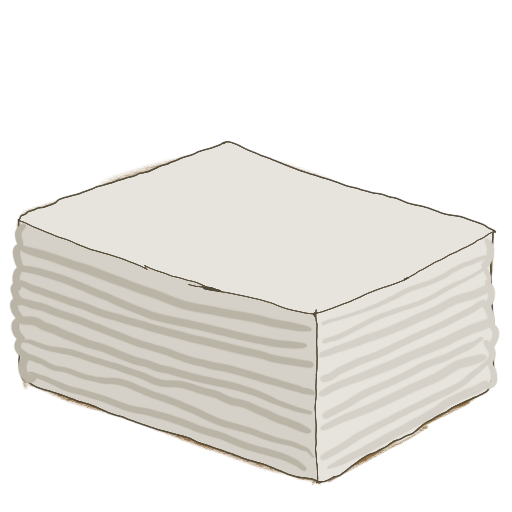
Only do this on the sides of the cake, not the top. Congrats! That's a cake ready to be decorated. With the frosting layer, it can be frozen overnight without getting stale, or used immediately.